
Timeplus Enterprise
Timeplus Enterprise is a high-performance converged platform that unifies streaming and historical data processing, to empower developers to build the most powerful and reliable streaming analytics applications, at speed and scale, anywhere.
Timeplus Enterprise provides the following major features:
Timeplus Enterprise is available as a fully-managed cloud service with zero ops and elastic scaling, or as a self-hosted deployment, ideal for enterprise users requiring flexible and advanced configurations.
Quickstart for Timeplus Enterprise self-hosting
The following section contains step-by-step instructions on how to easily get started with a self-hosted Timeplus Enterprise.
Step 1: install Timeplus Enterprise via a single command
If your server or computer is running Linux or MacOS, you can run the following command to download the package and start Timeplus Enterprise without any other dependencies. For Windows users, please follow our guide for running Timeplus Enterprise with Docker.
curl https://install.timeplus.com | sh
This script will download the latest package (based on your operating system and CPU architecture) to the current folder. Uncompress the package and start the Timeplus Enterprise server.
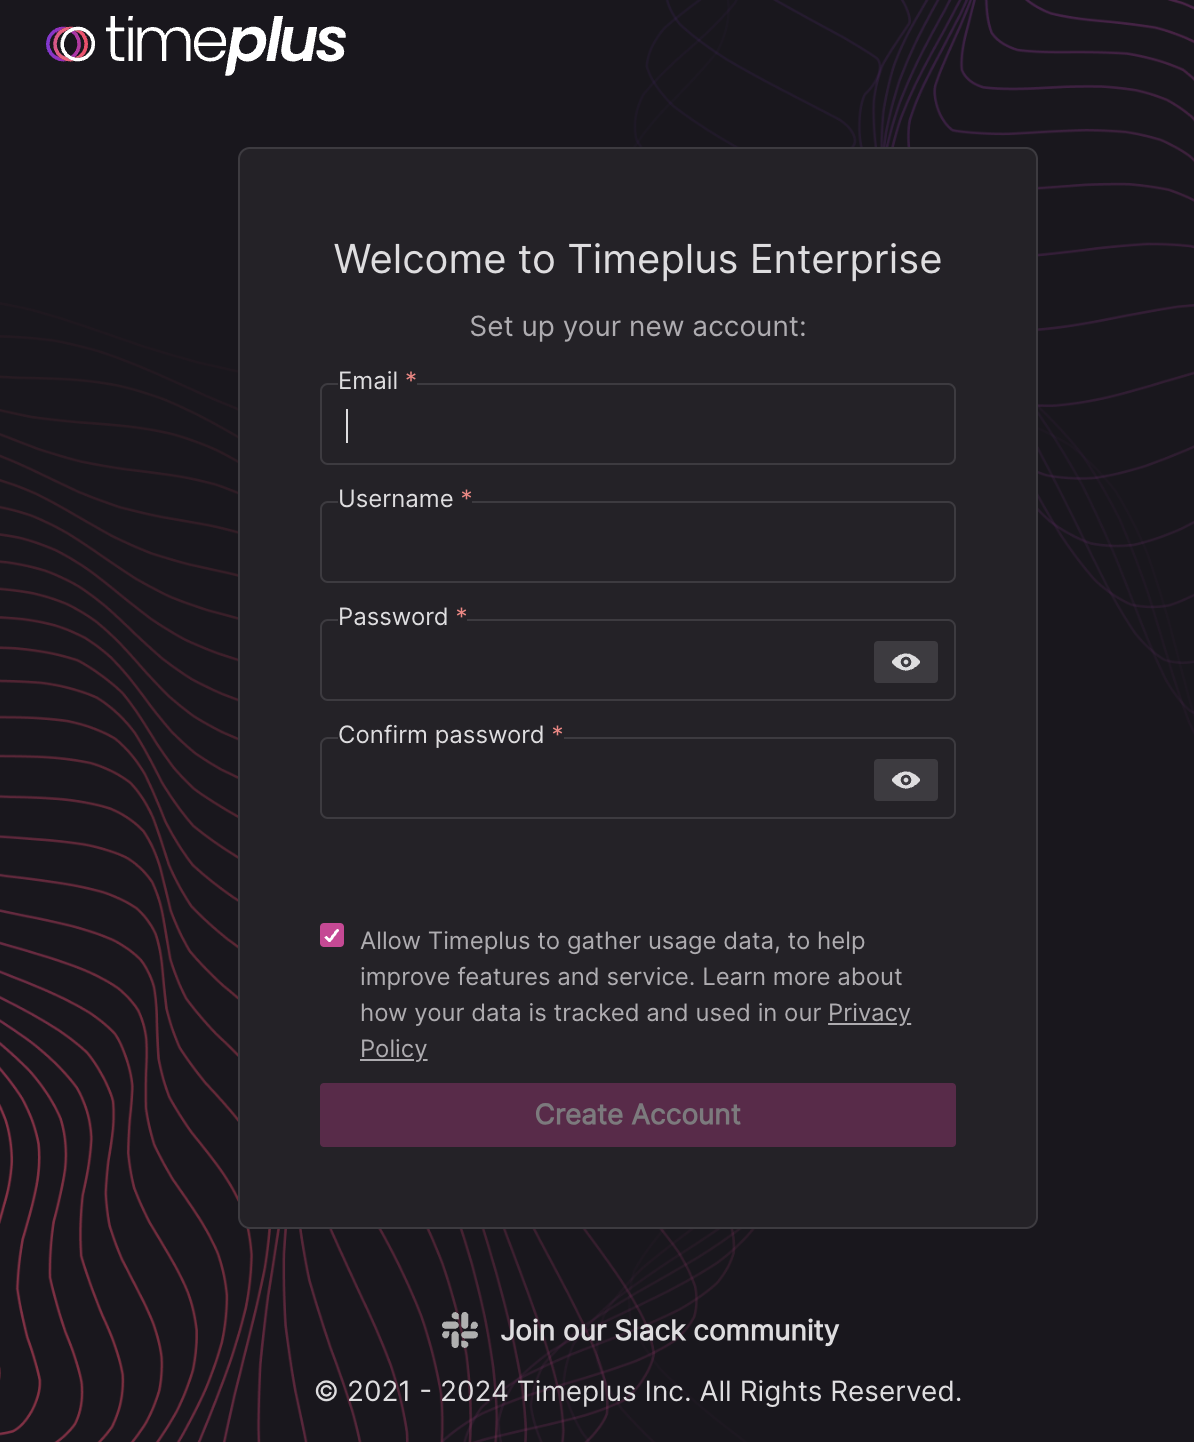
Step 2: Setup the user account
Access the Timeplus Enterprise web console via http://localhost:8000. On your first login, please create an account with a password to start the 30-day free trial.
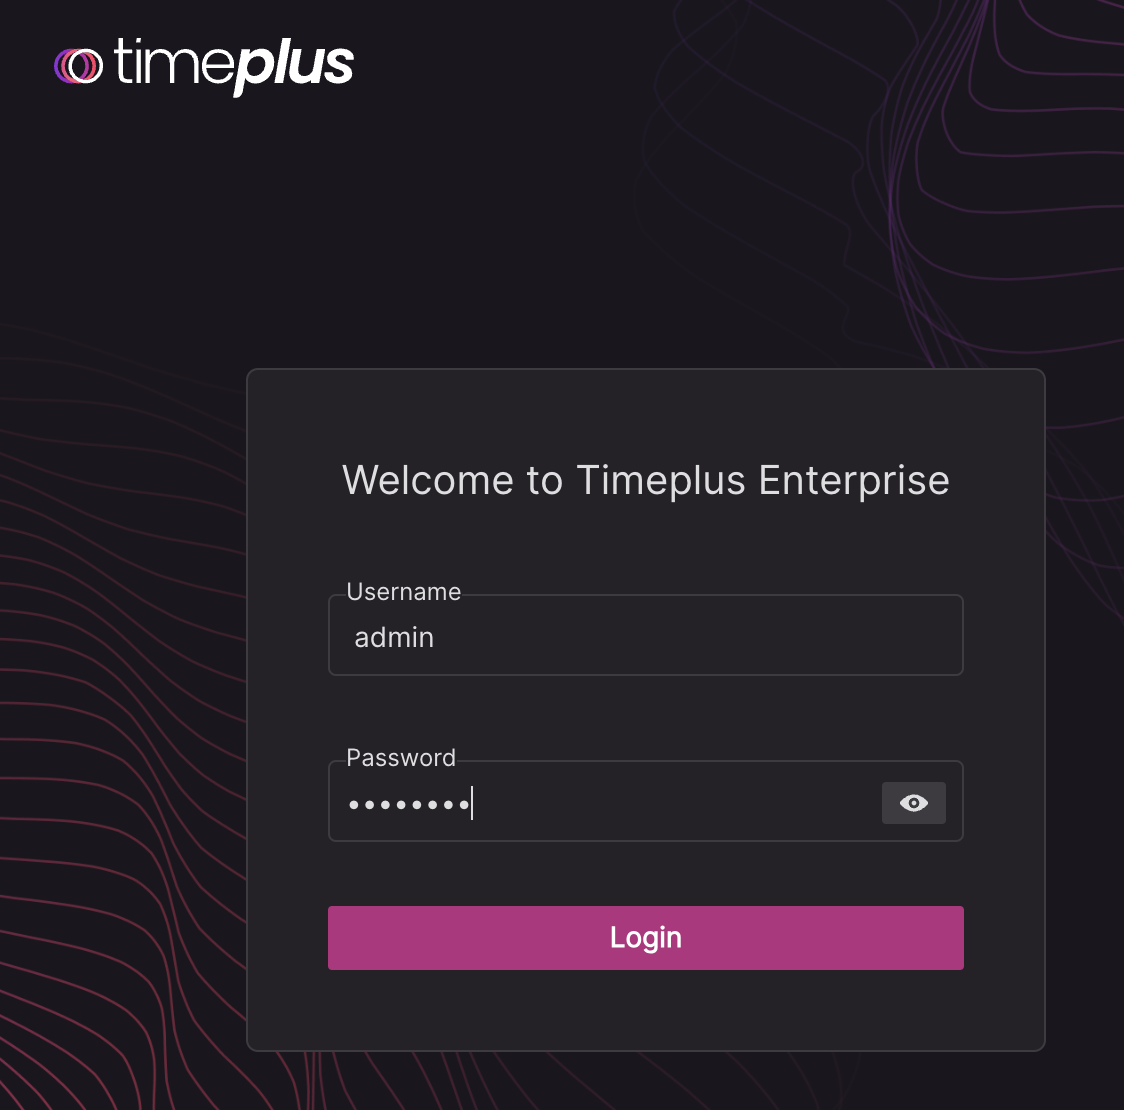
After creating the account, login with that username and password.
Step 3: Load your streaming data
If your streaming data resides in or a publicly accessible Kafka or Pulsar instance, follow one of following docs to create a source in Timeplus Cloud, then return here to complete the quickstart:
If you don't yet have a streaming data source and would like test out how Timeplus works, Timeplus provides a built-in data source to generate streaming data for some common use cases.
Create a sample source
-
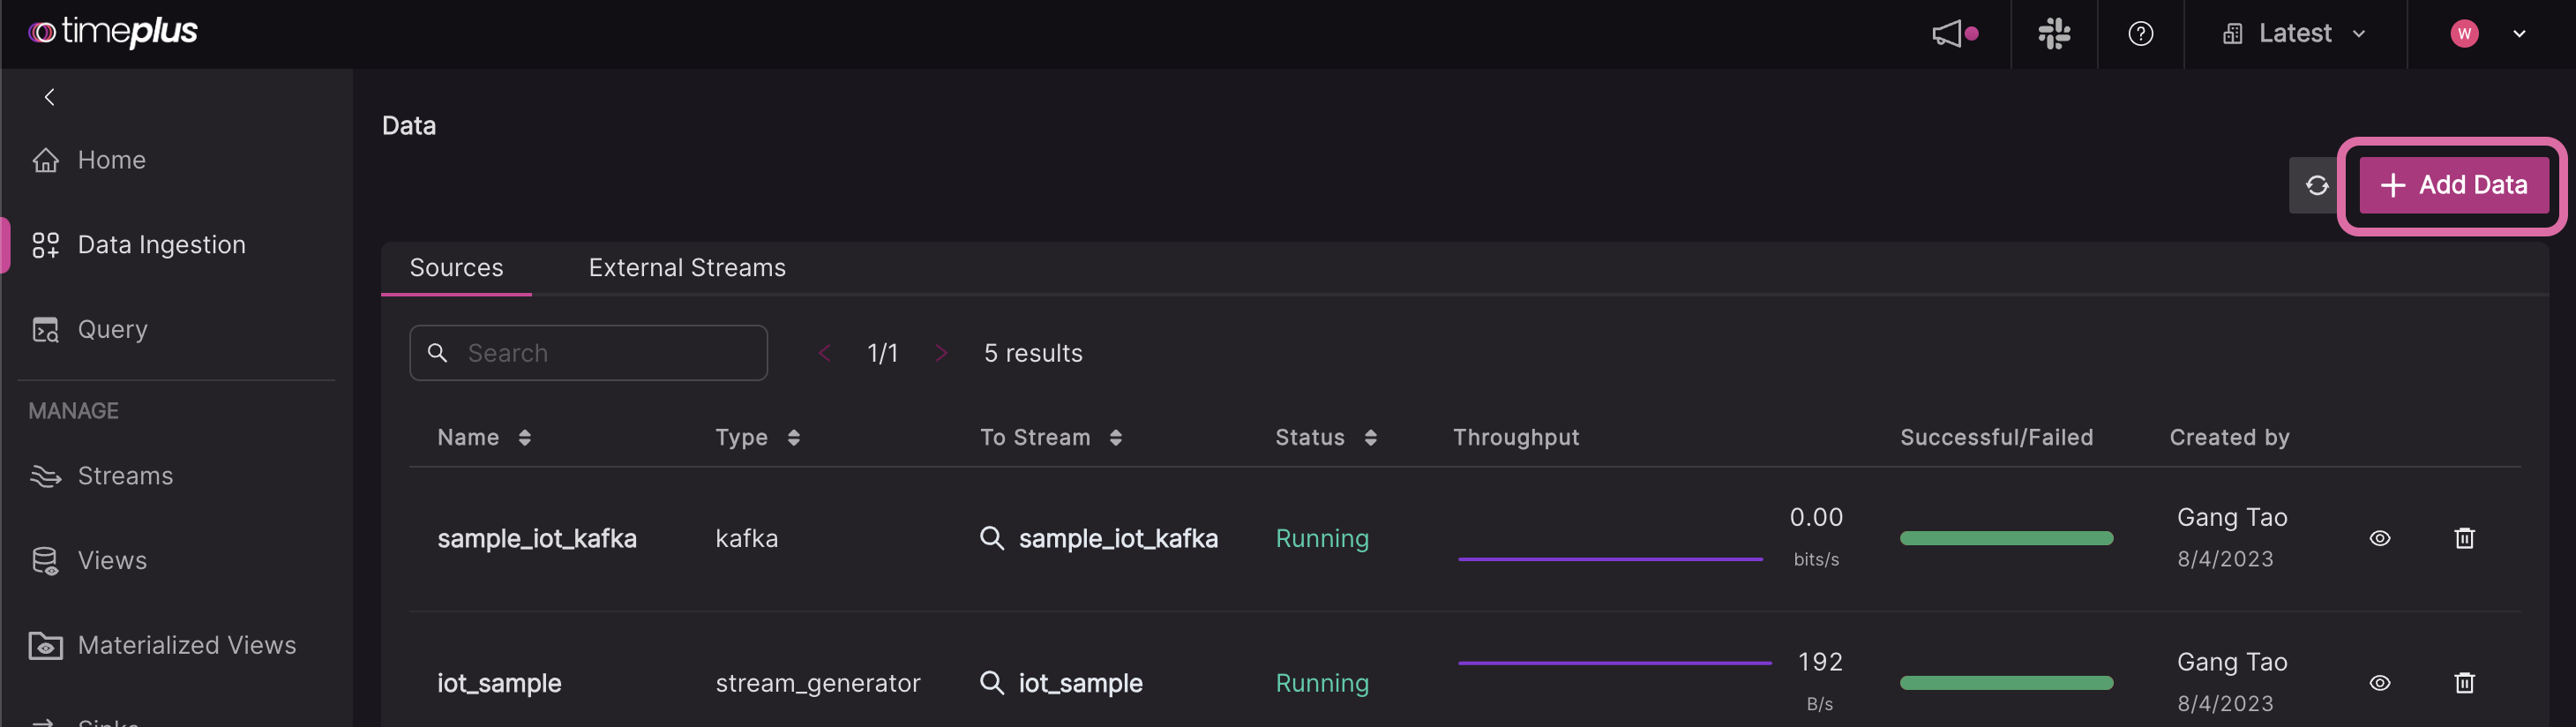
Create the first source in your workspace. From the left side navigation menu, click Data Ingestion, then click the Add Data button in the top right corner.
-
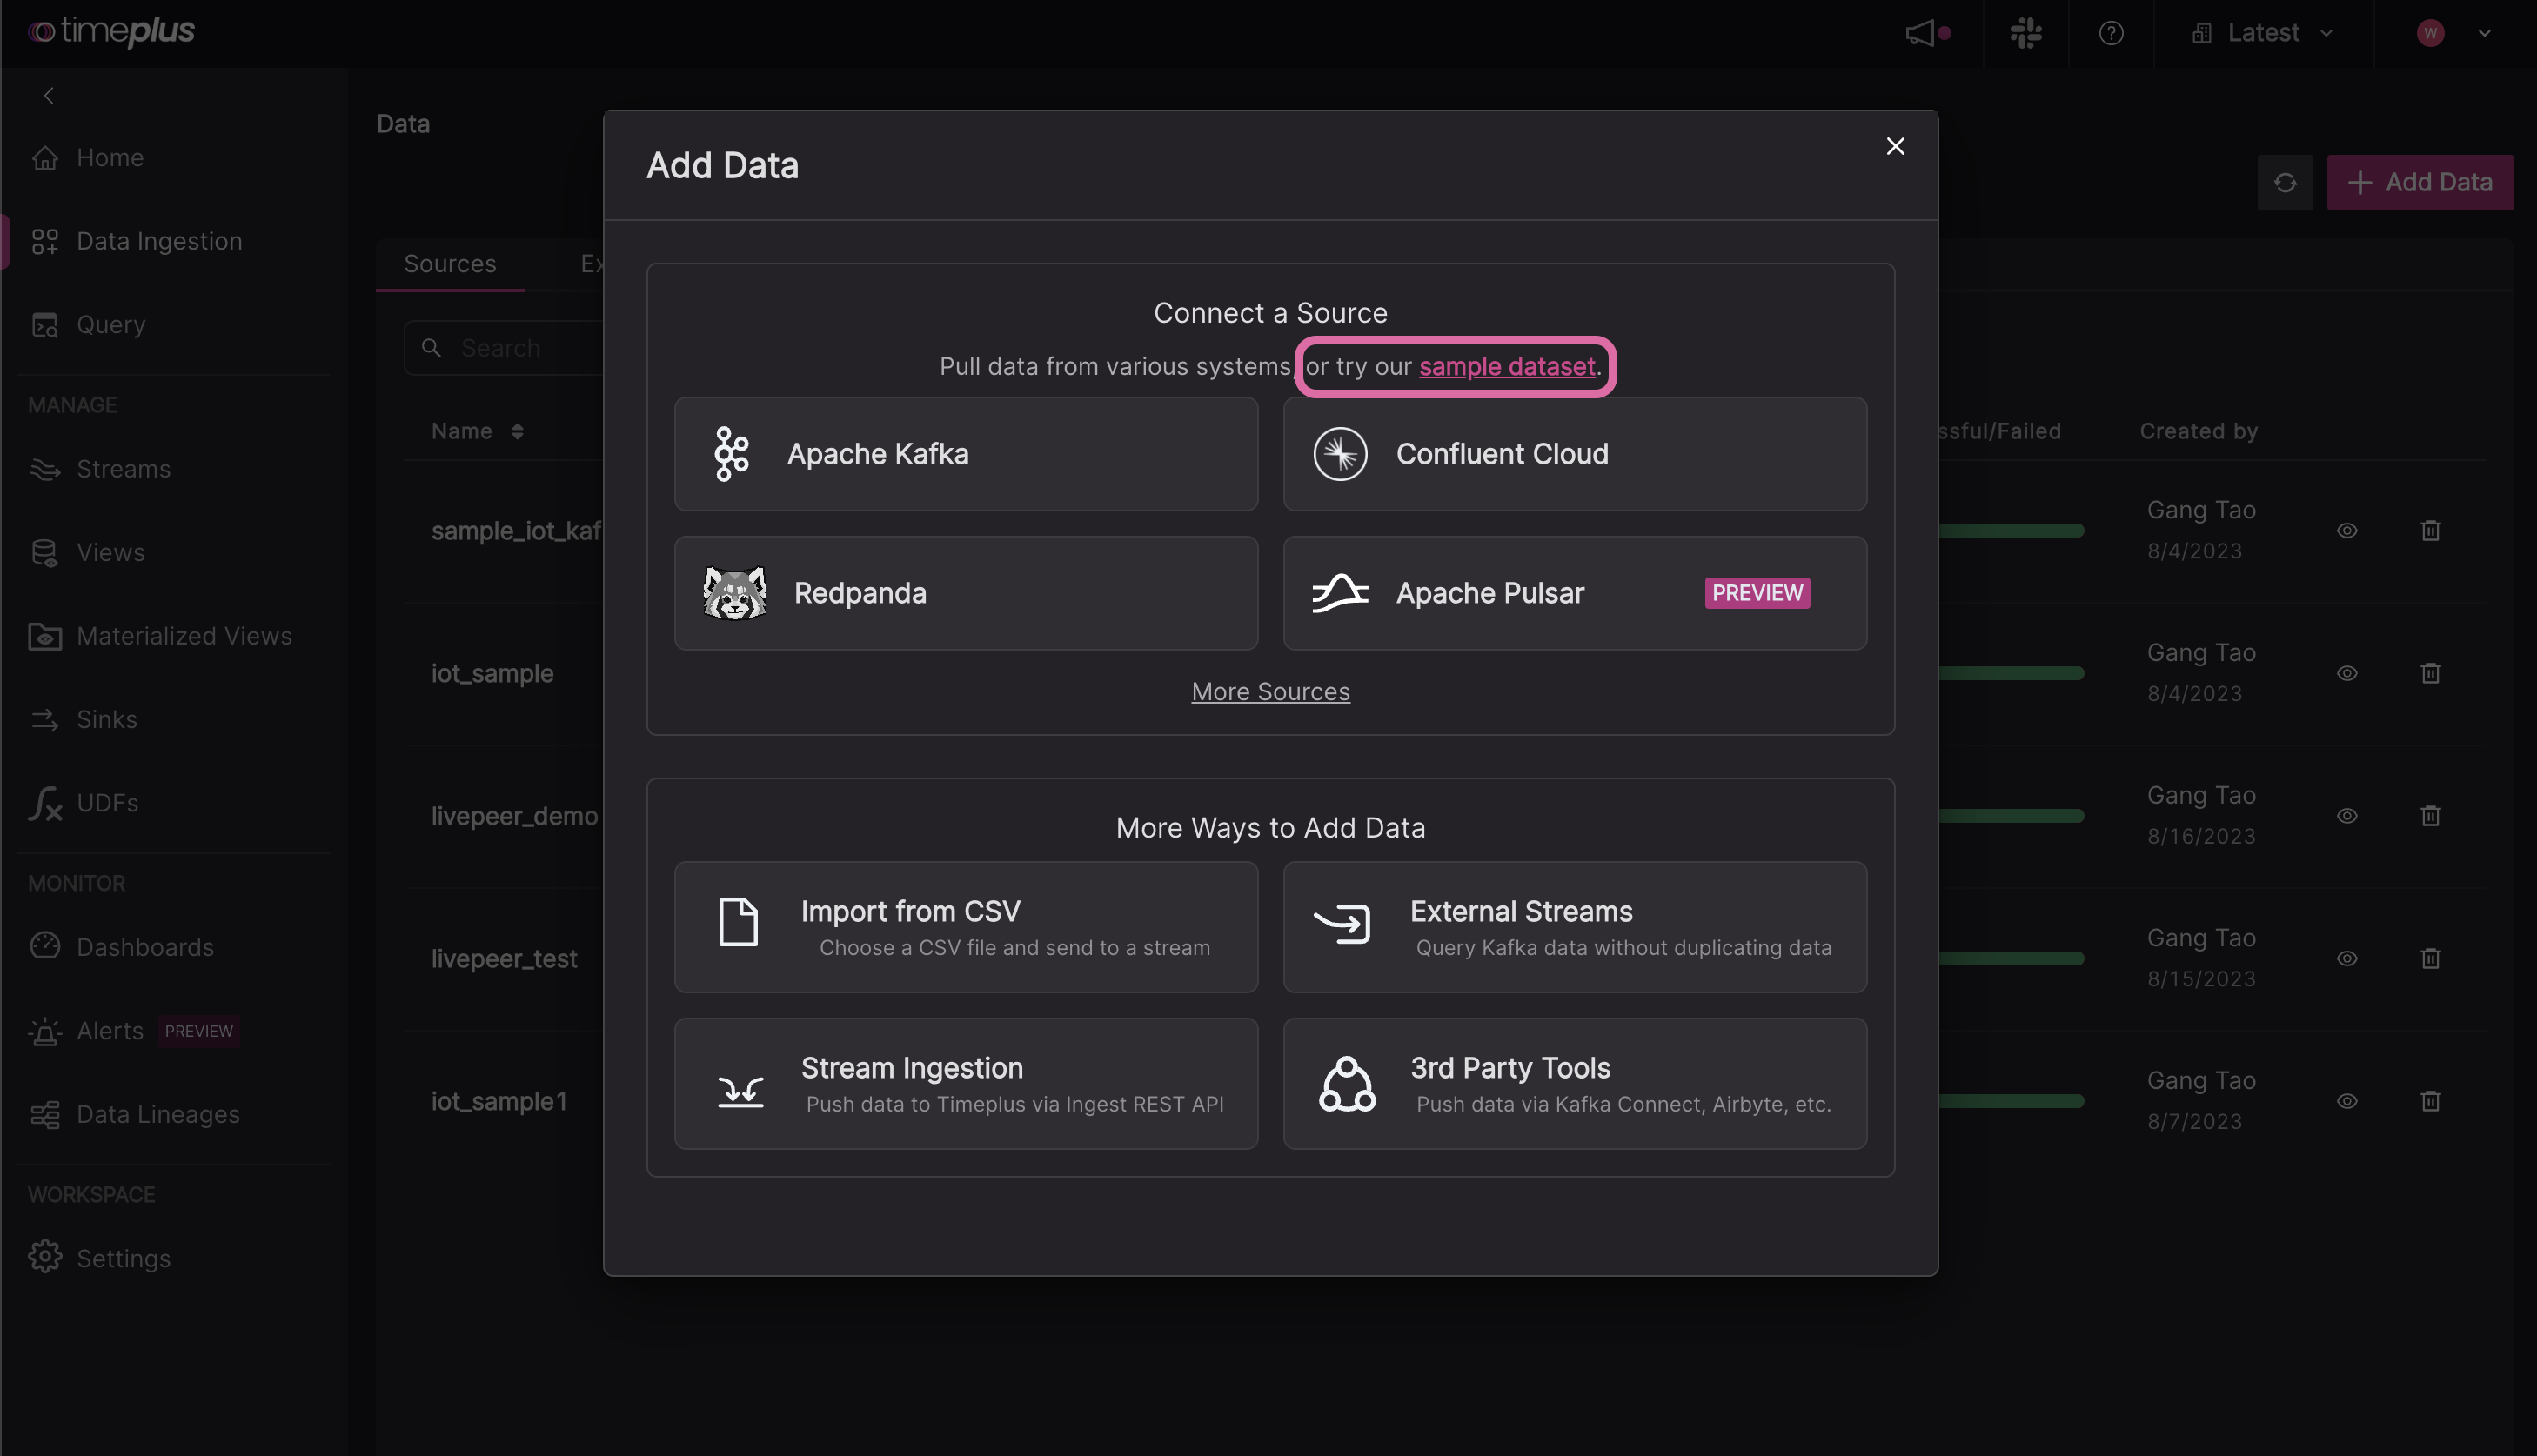
In this pop-up, click the Sample Dataset link.
-
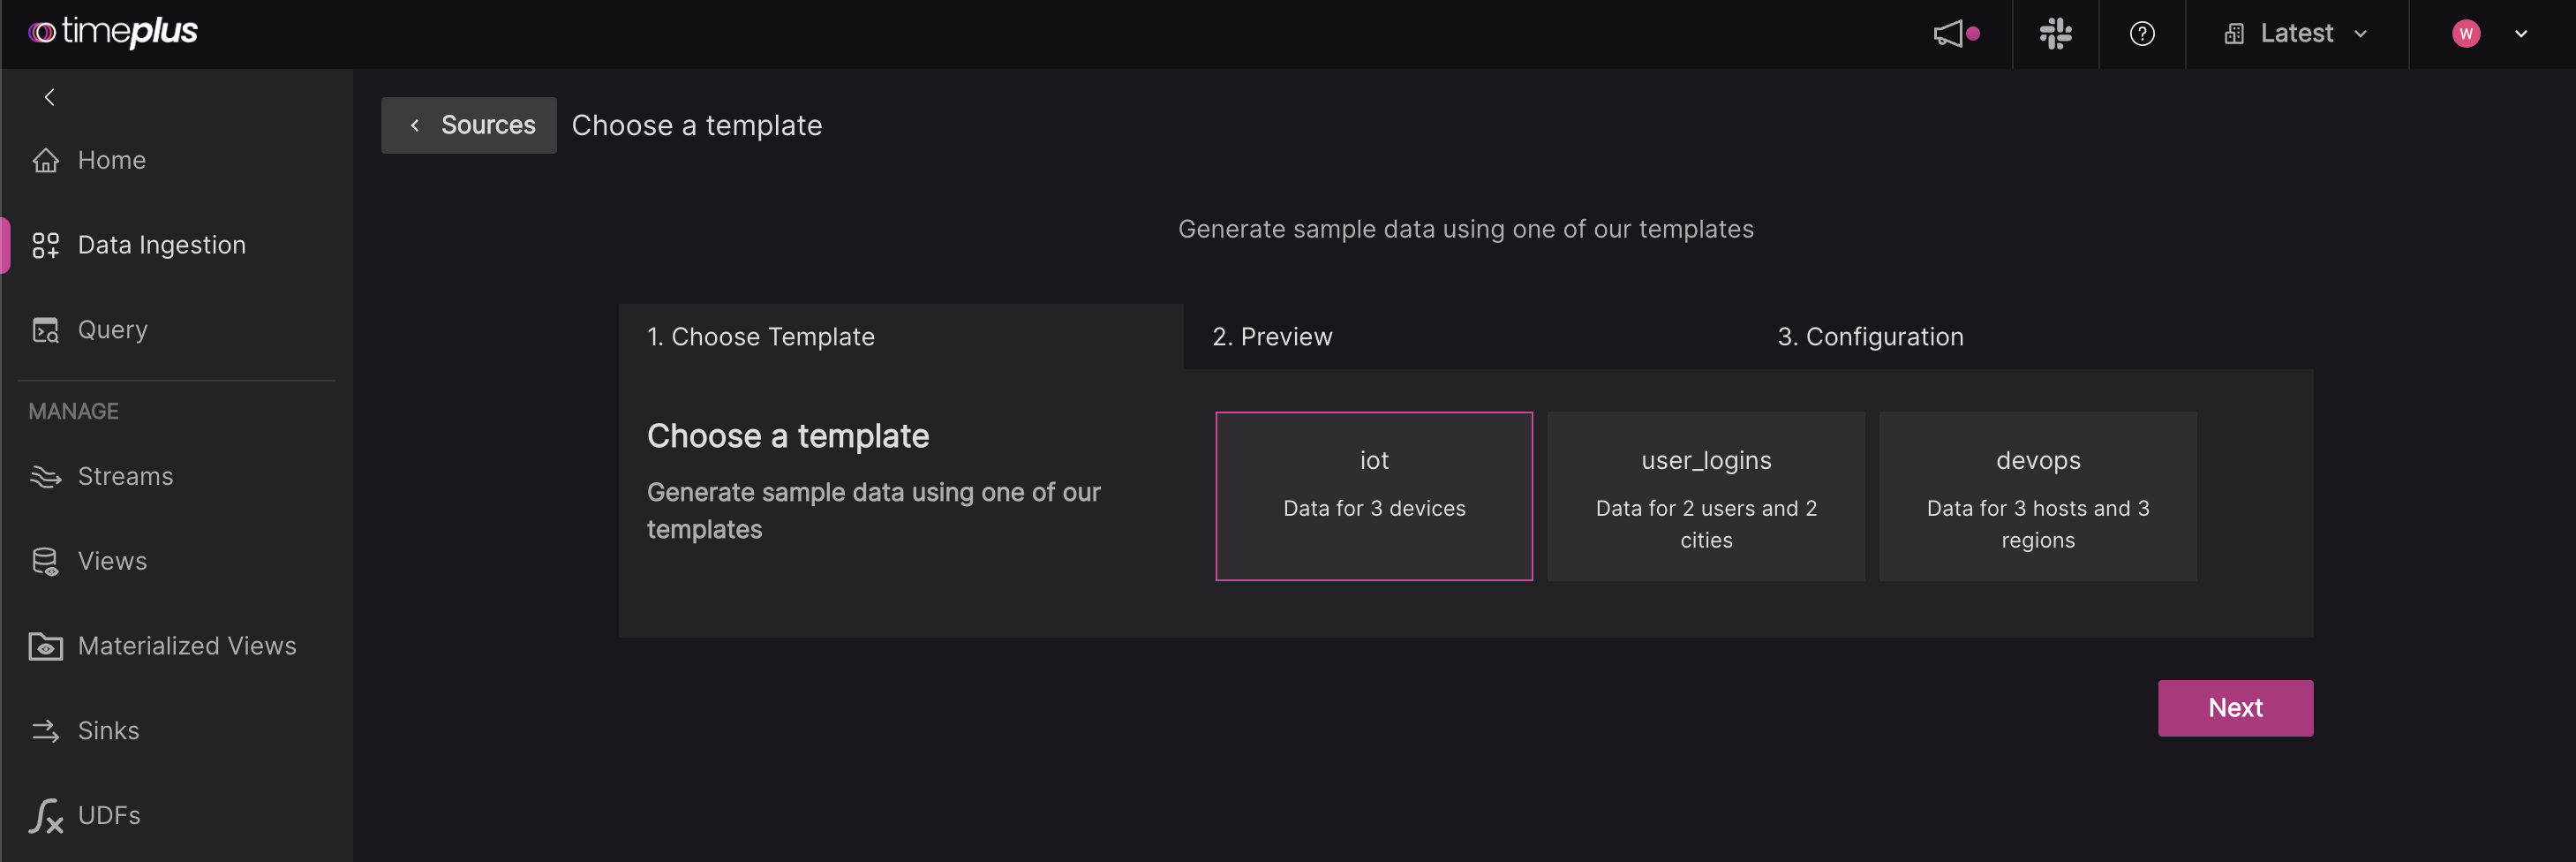
Choose from one of three templates:
- IoT: Data for three devices
- User logins: Data for two users and two cities
- DevOps: Data for three hosts and three regions
-
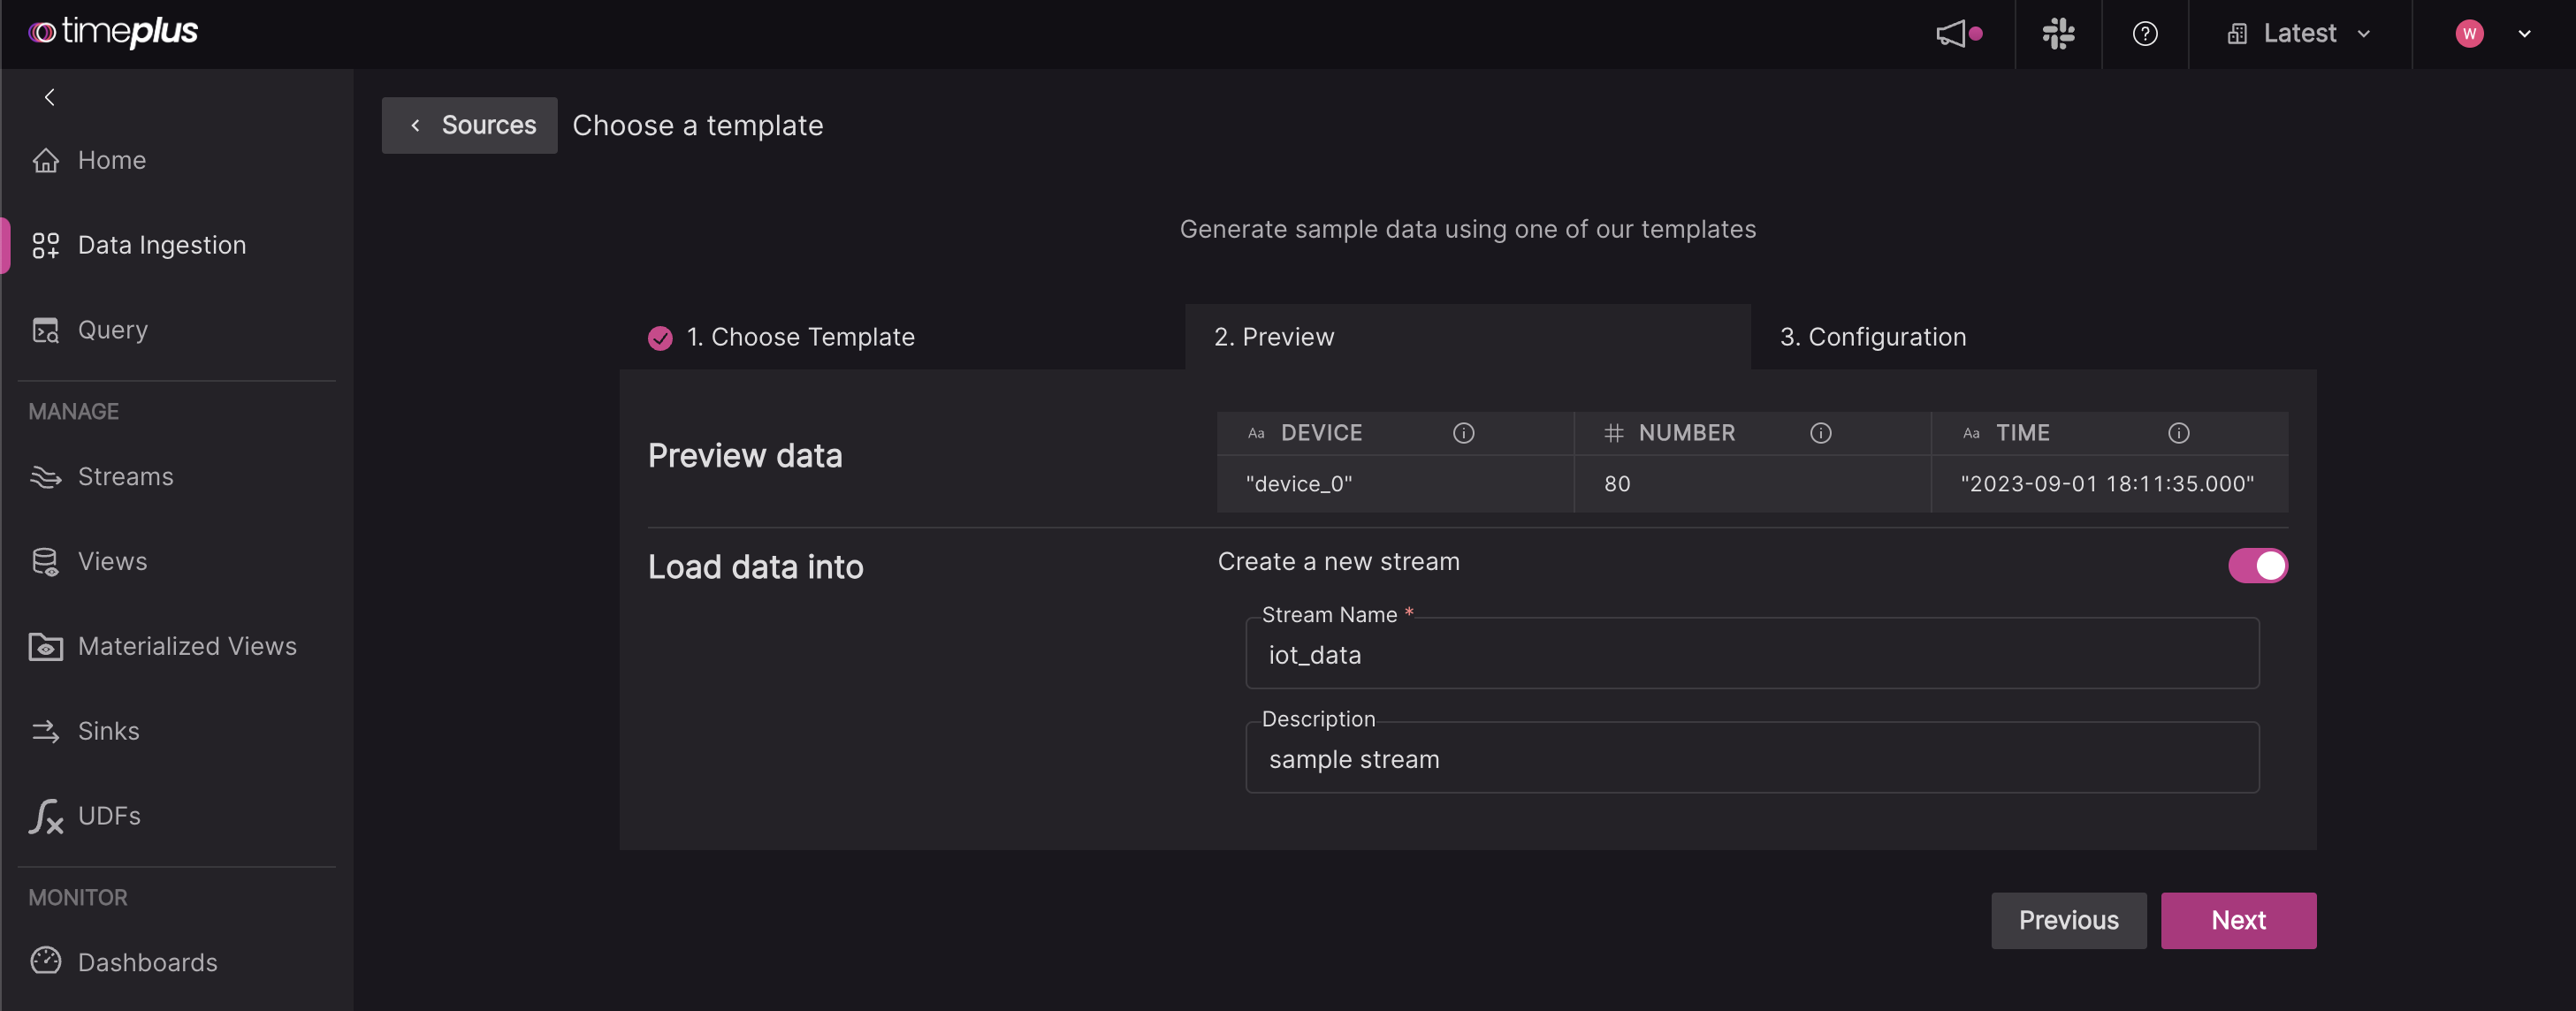
Preview your data and create a new stream to load your data into. For the stream name, it can contain only letters, numbers, or underscores, and must start with a letter. You can also give it an optional description.
-
Give your same source a name, such as
iot, and review the JSON configuration.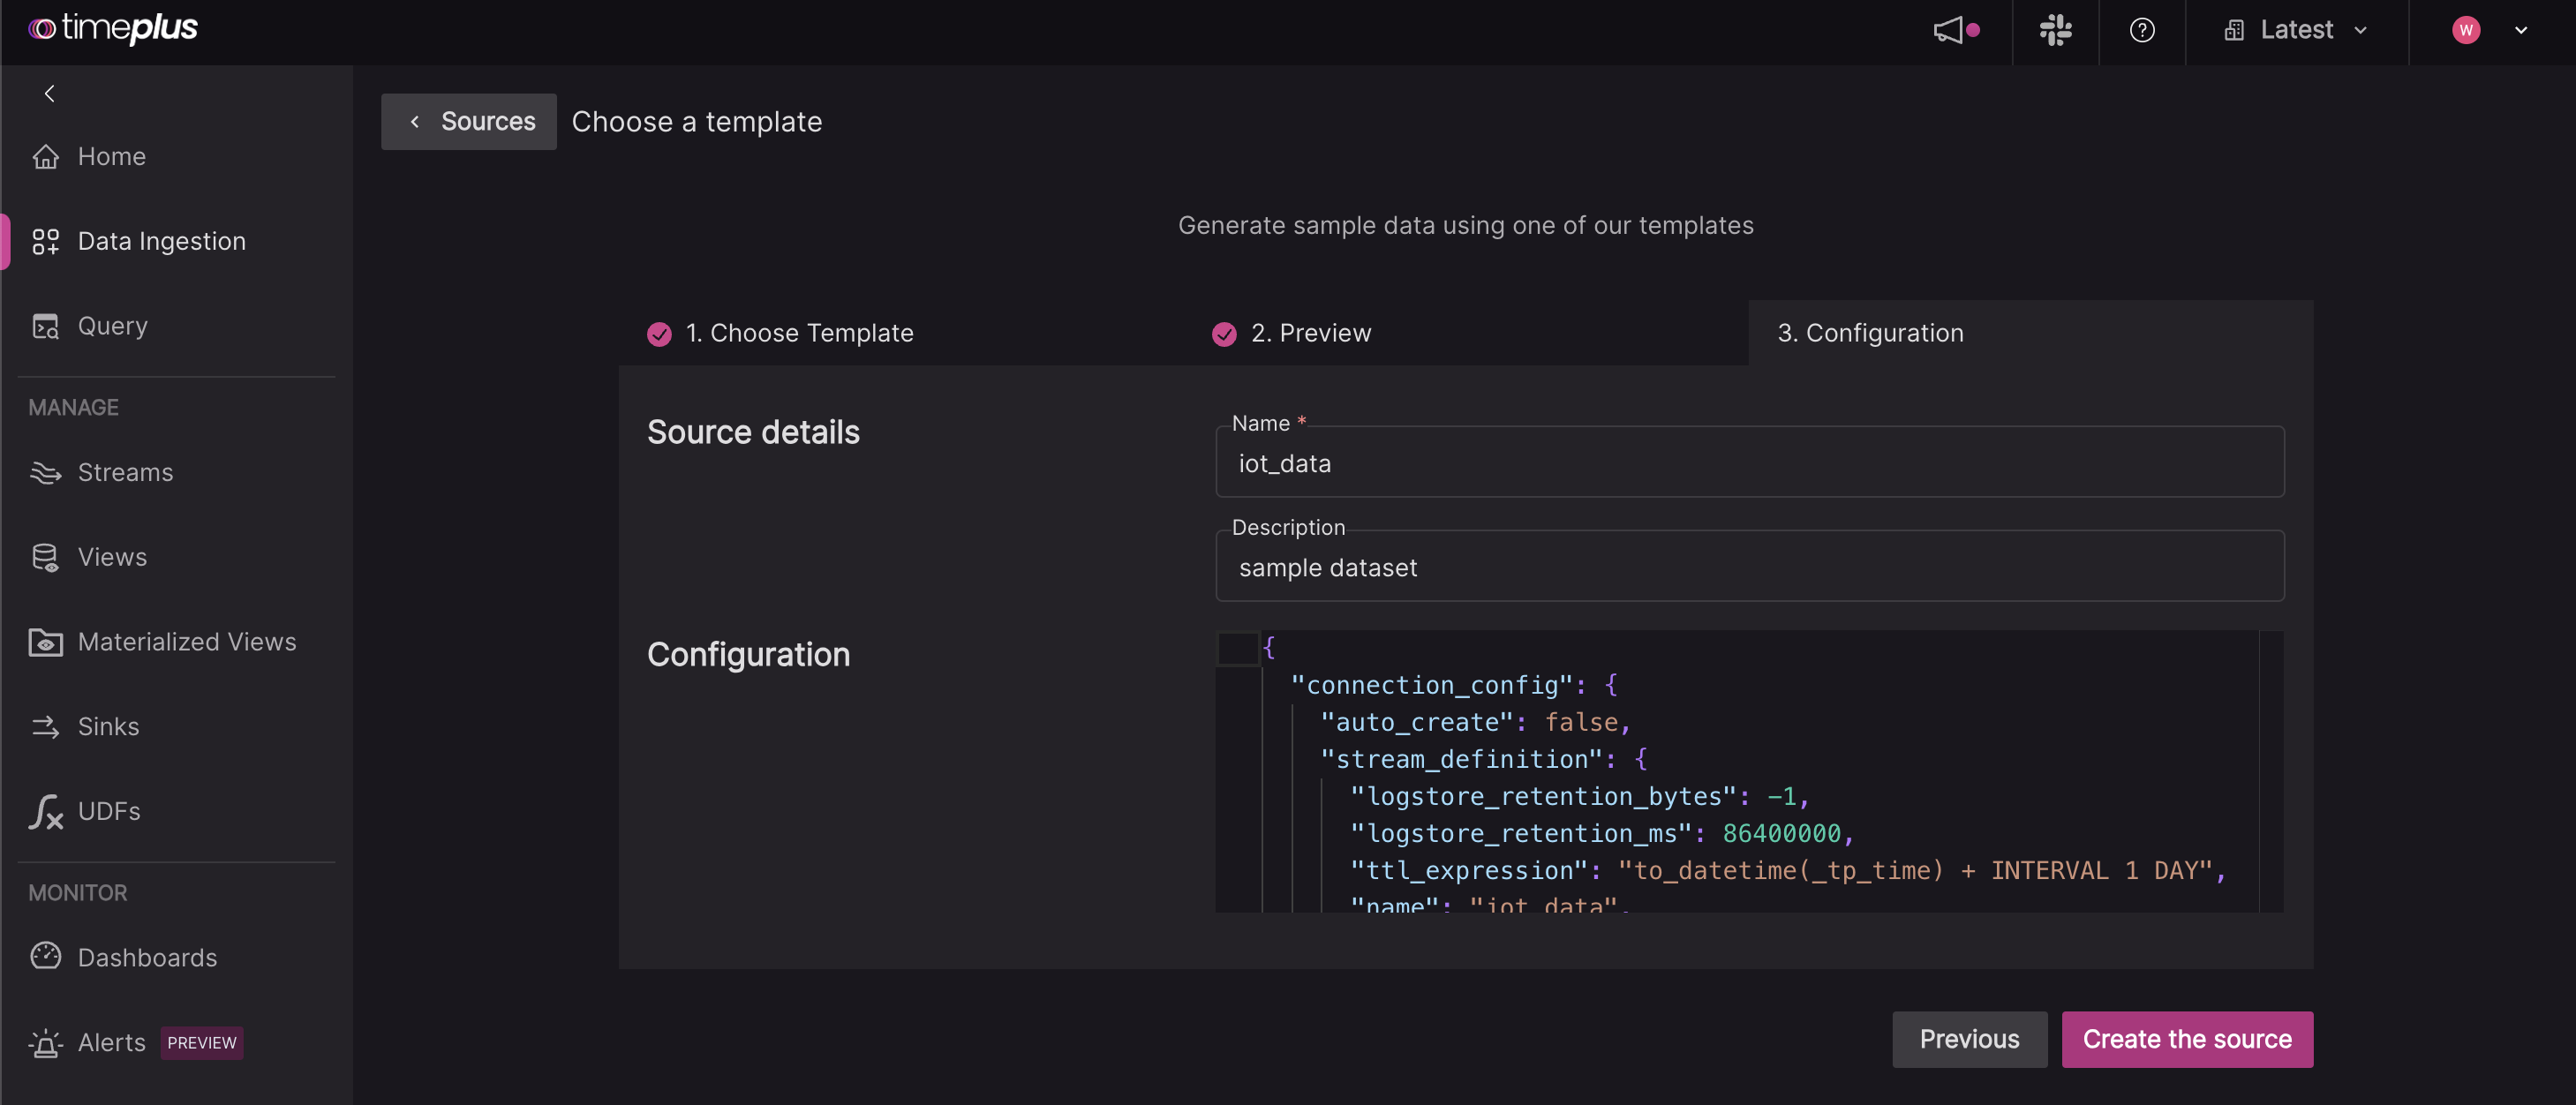
Explore streaming data
-
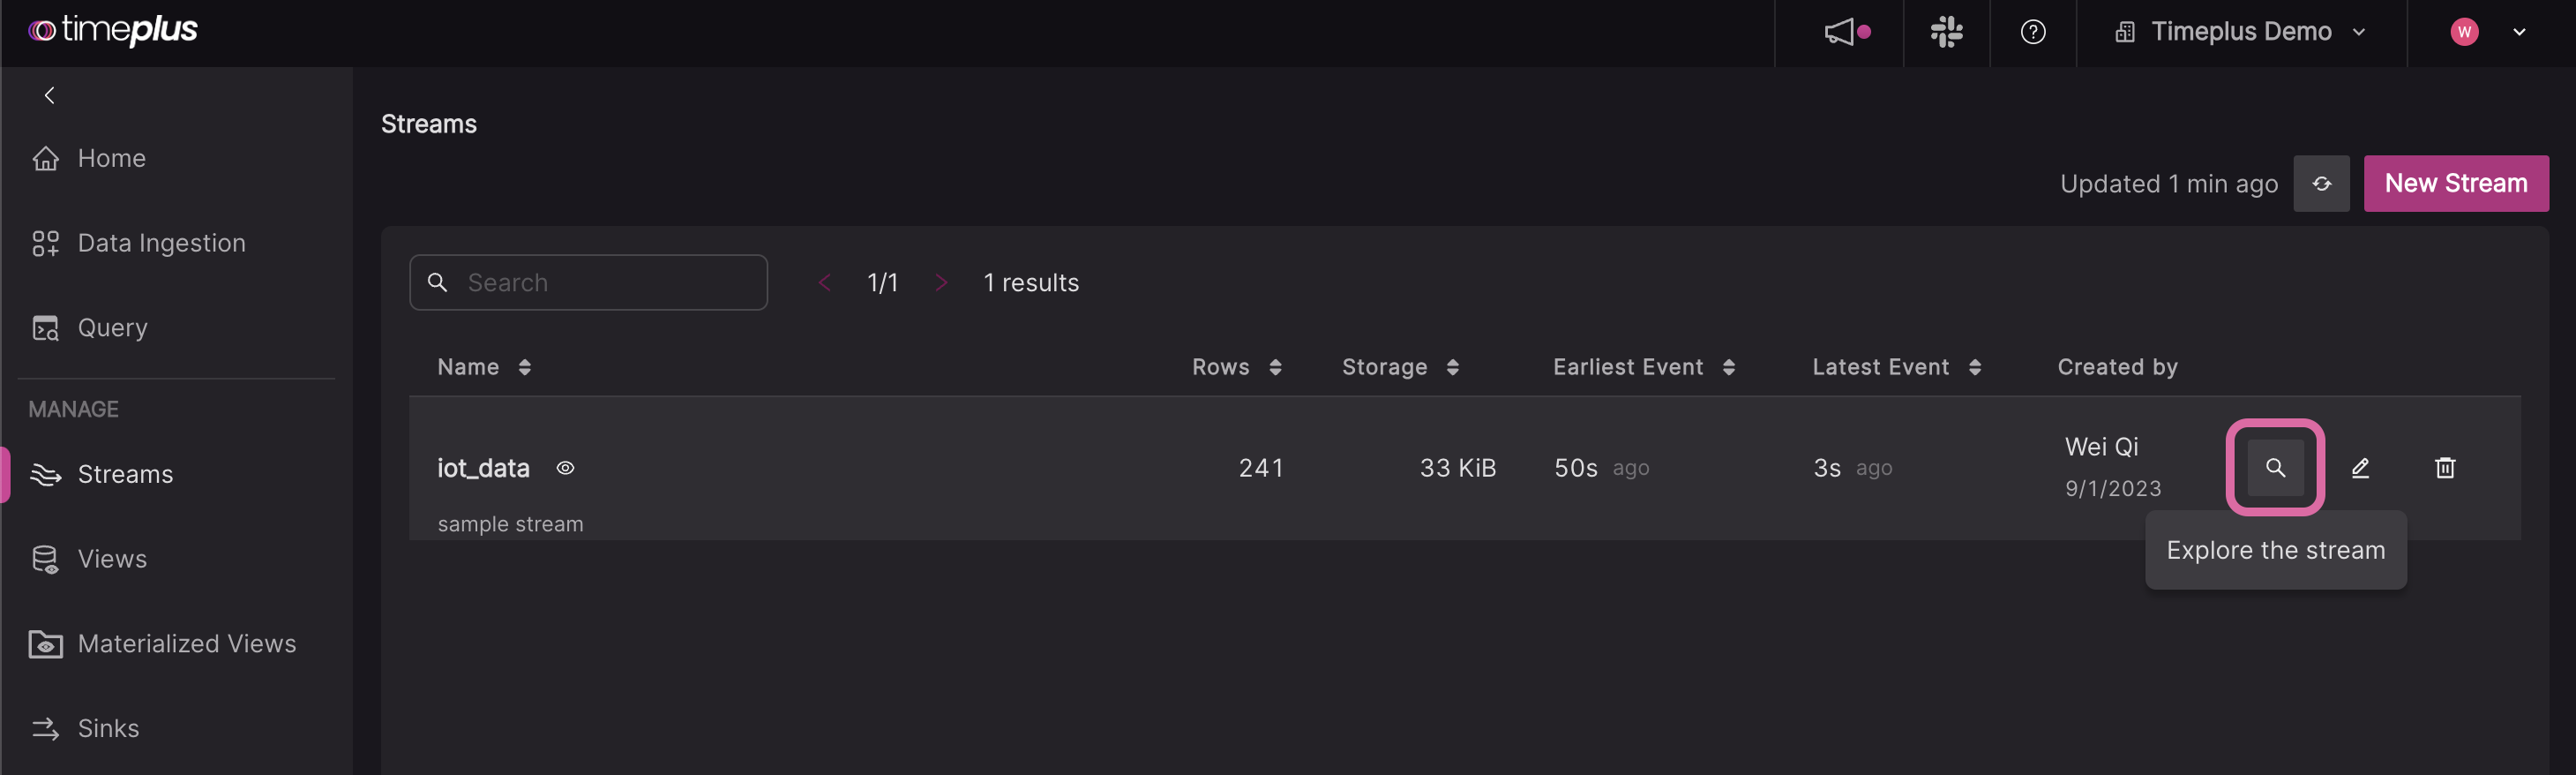
To check out the data in your newly created stream, you can either:
a. Go to the Streams page, and click on the Explore icon.
b. Or, go to the Query page, and click on the name of the stream in the SQL helper below the SQL editor.
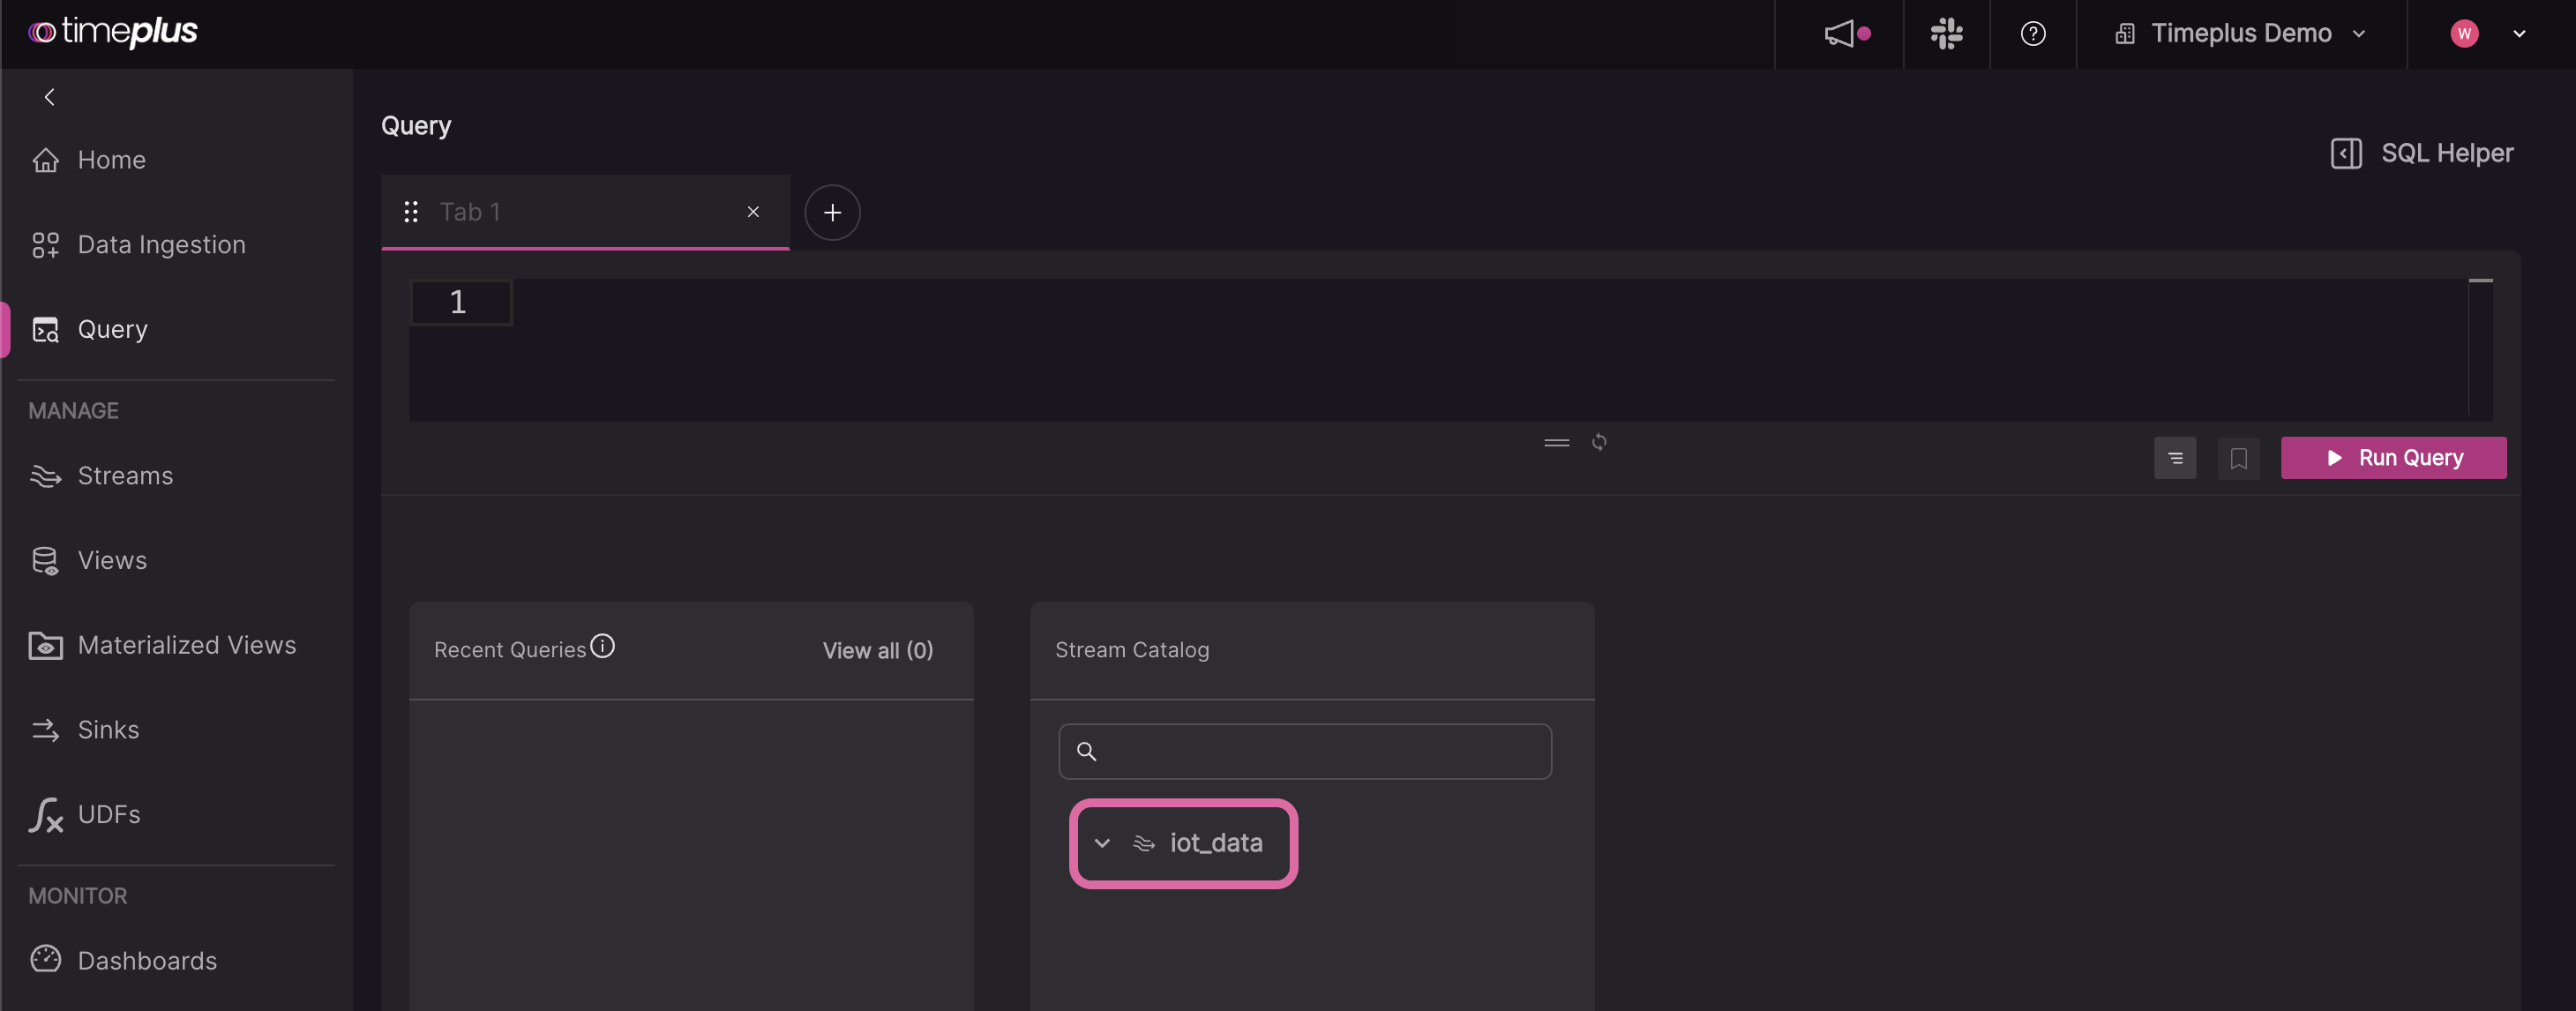
-
Timeplus generates a basic query for you, such as
SELECT * FROM iot, or you can type your own query into the editor. Click the Run Query button (or pressCtrl+Enteron PC,Cmd + Enteron Mac) to run the query.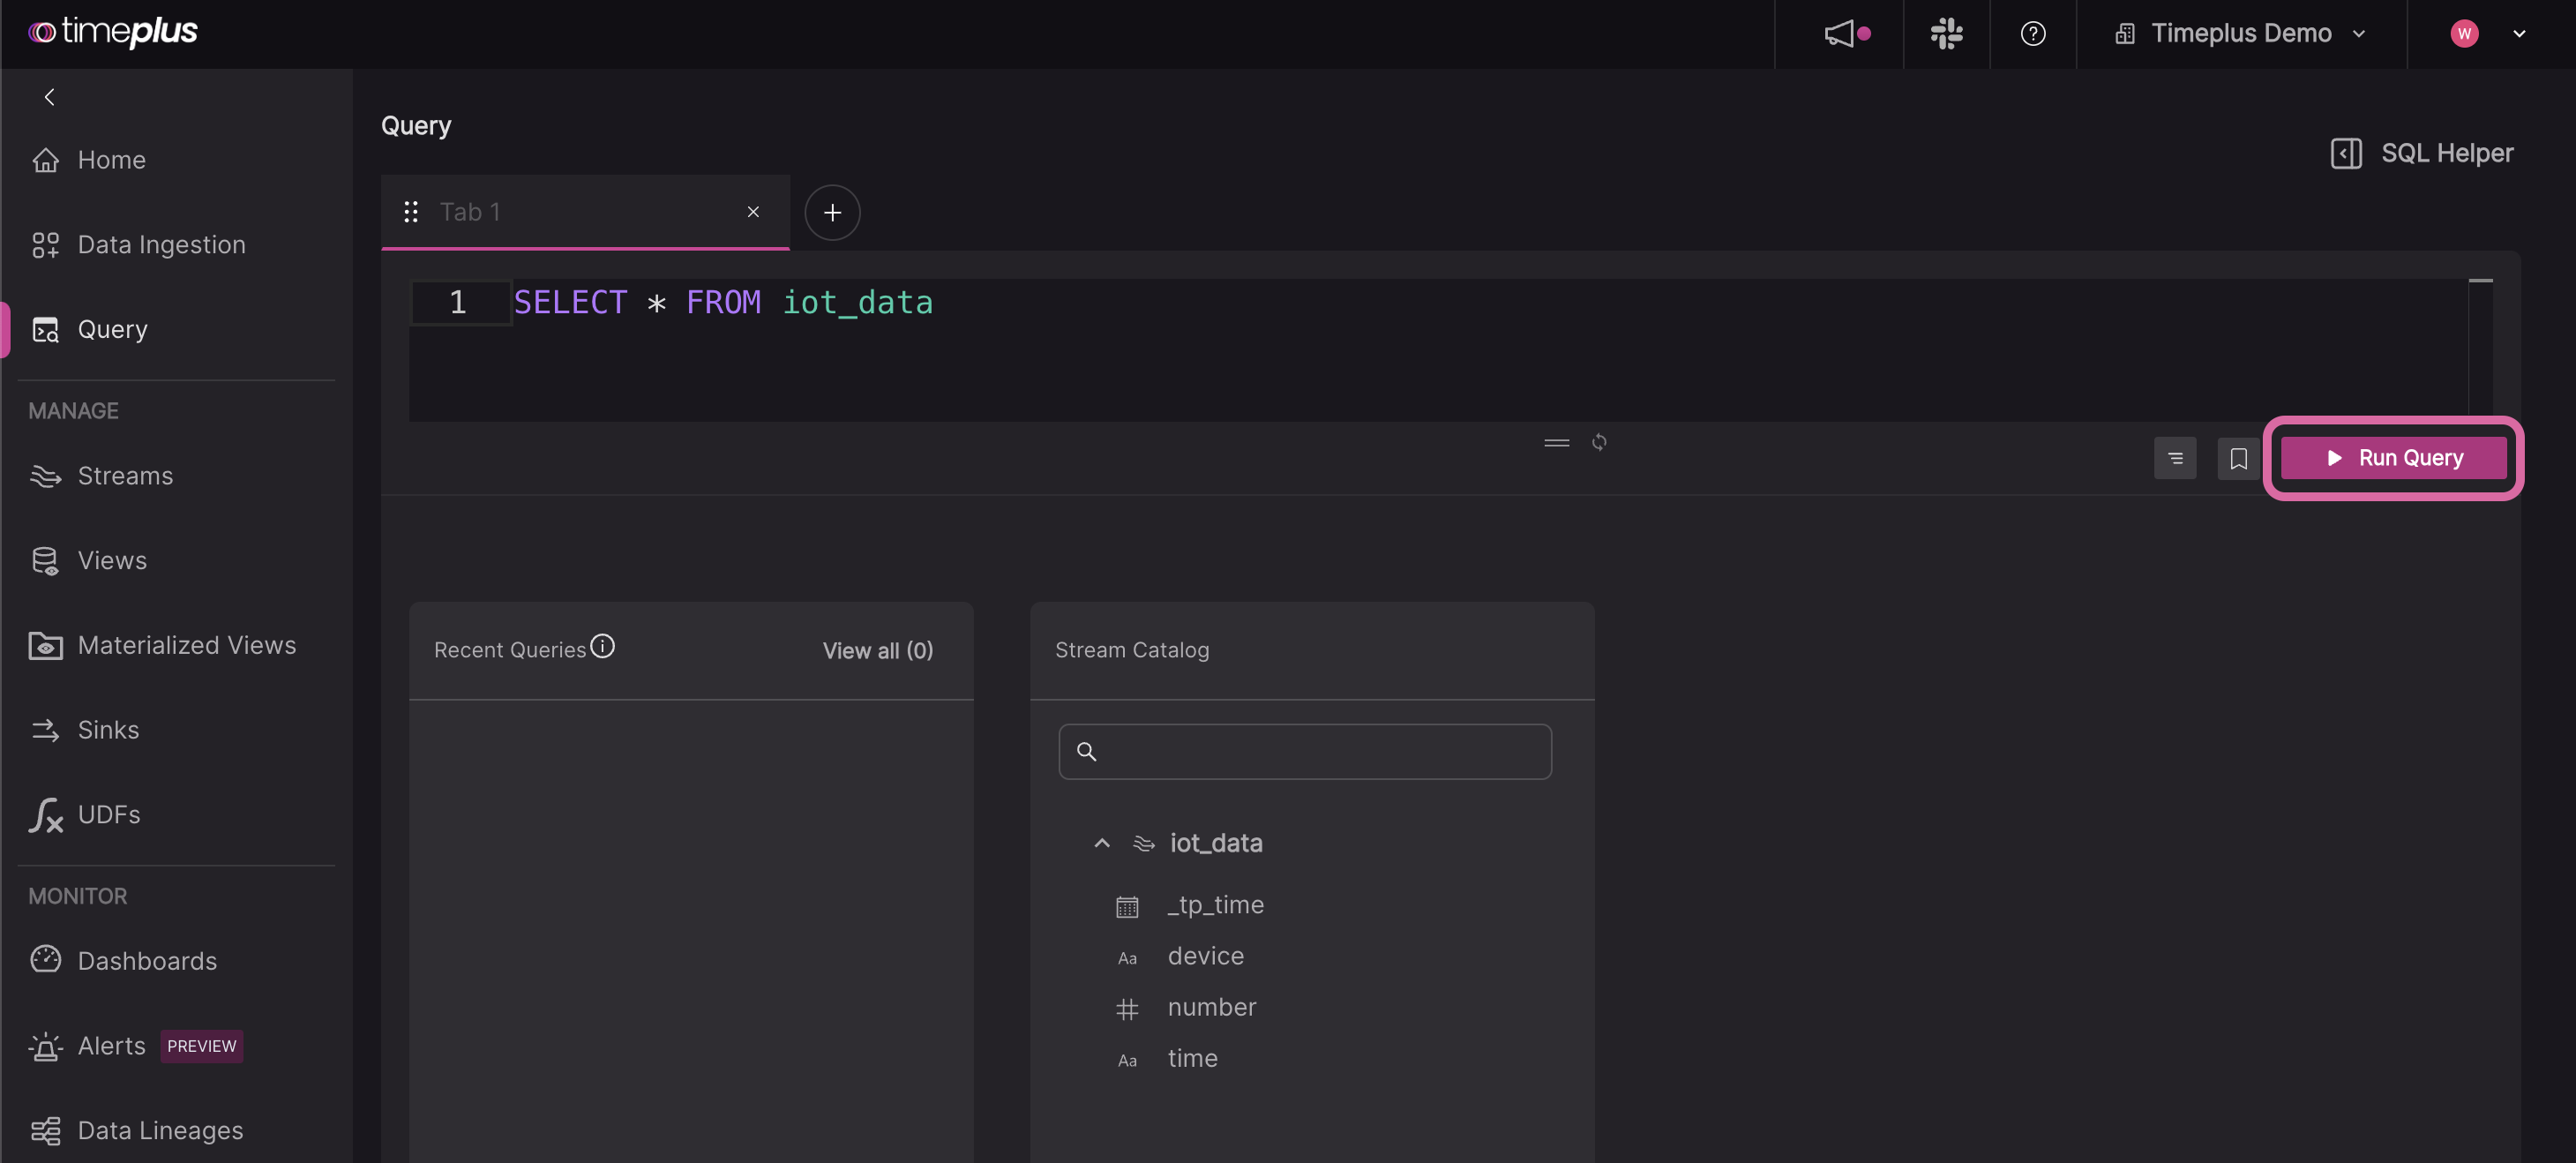
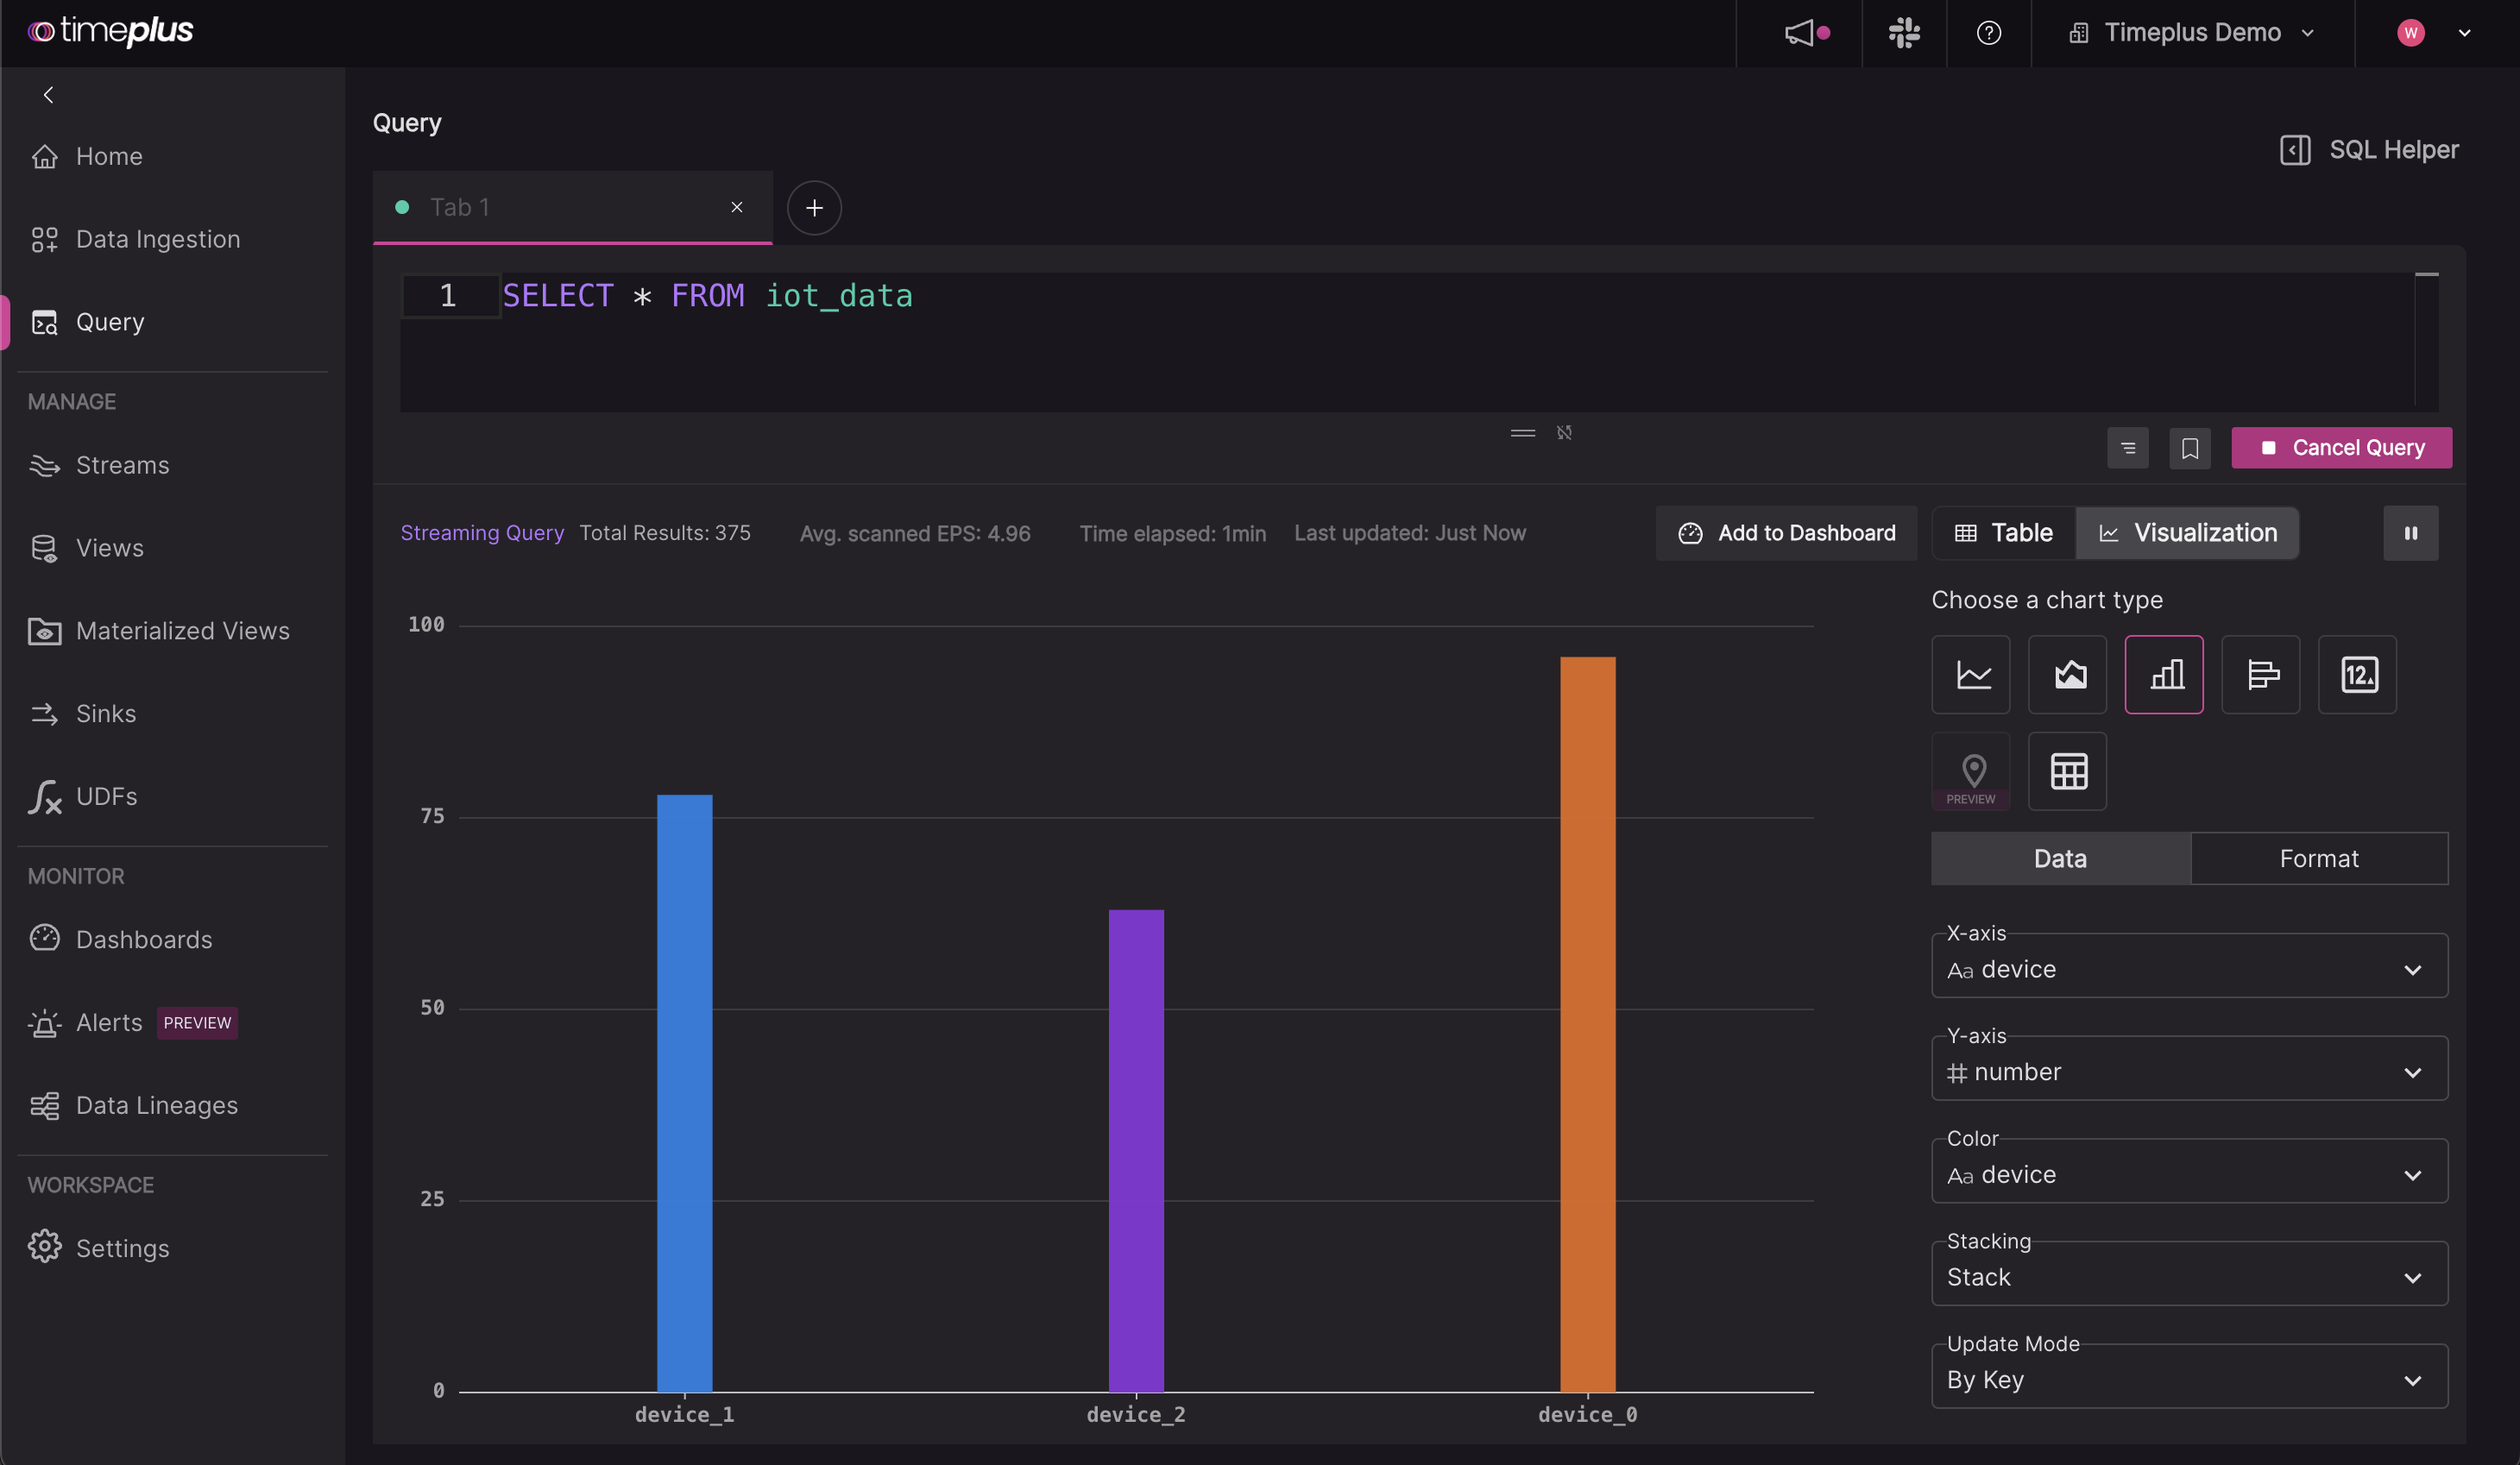
The streaming results table will now appear below the editor. To create charts, click on the Visualization tab. [Learn more about Dashboards and Charts]
Quickstart for Timeplus Cloud
The following section contains step-by-step instructions on how to easily get started with Timeplus Enterprise in the cloud.
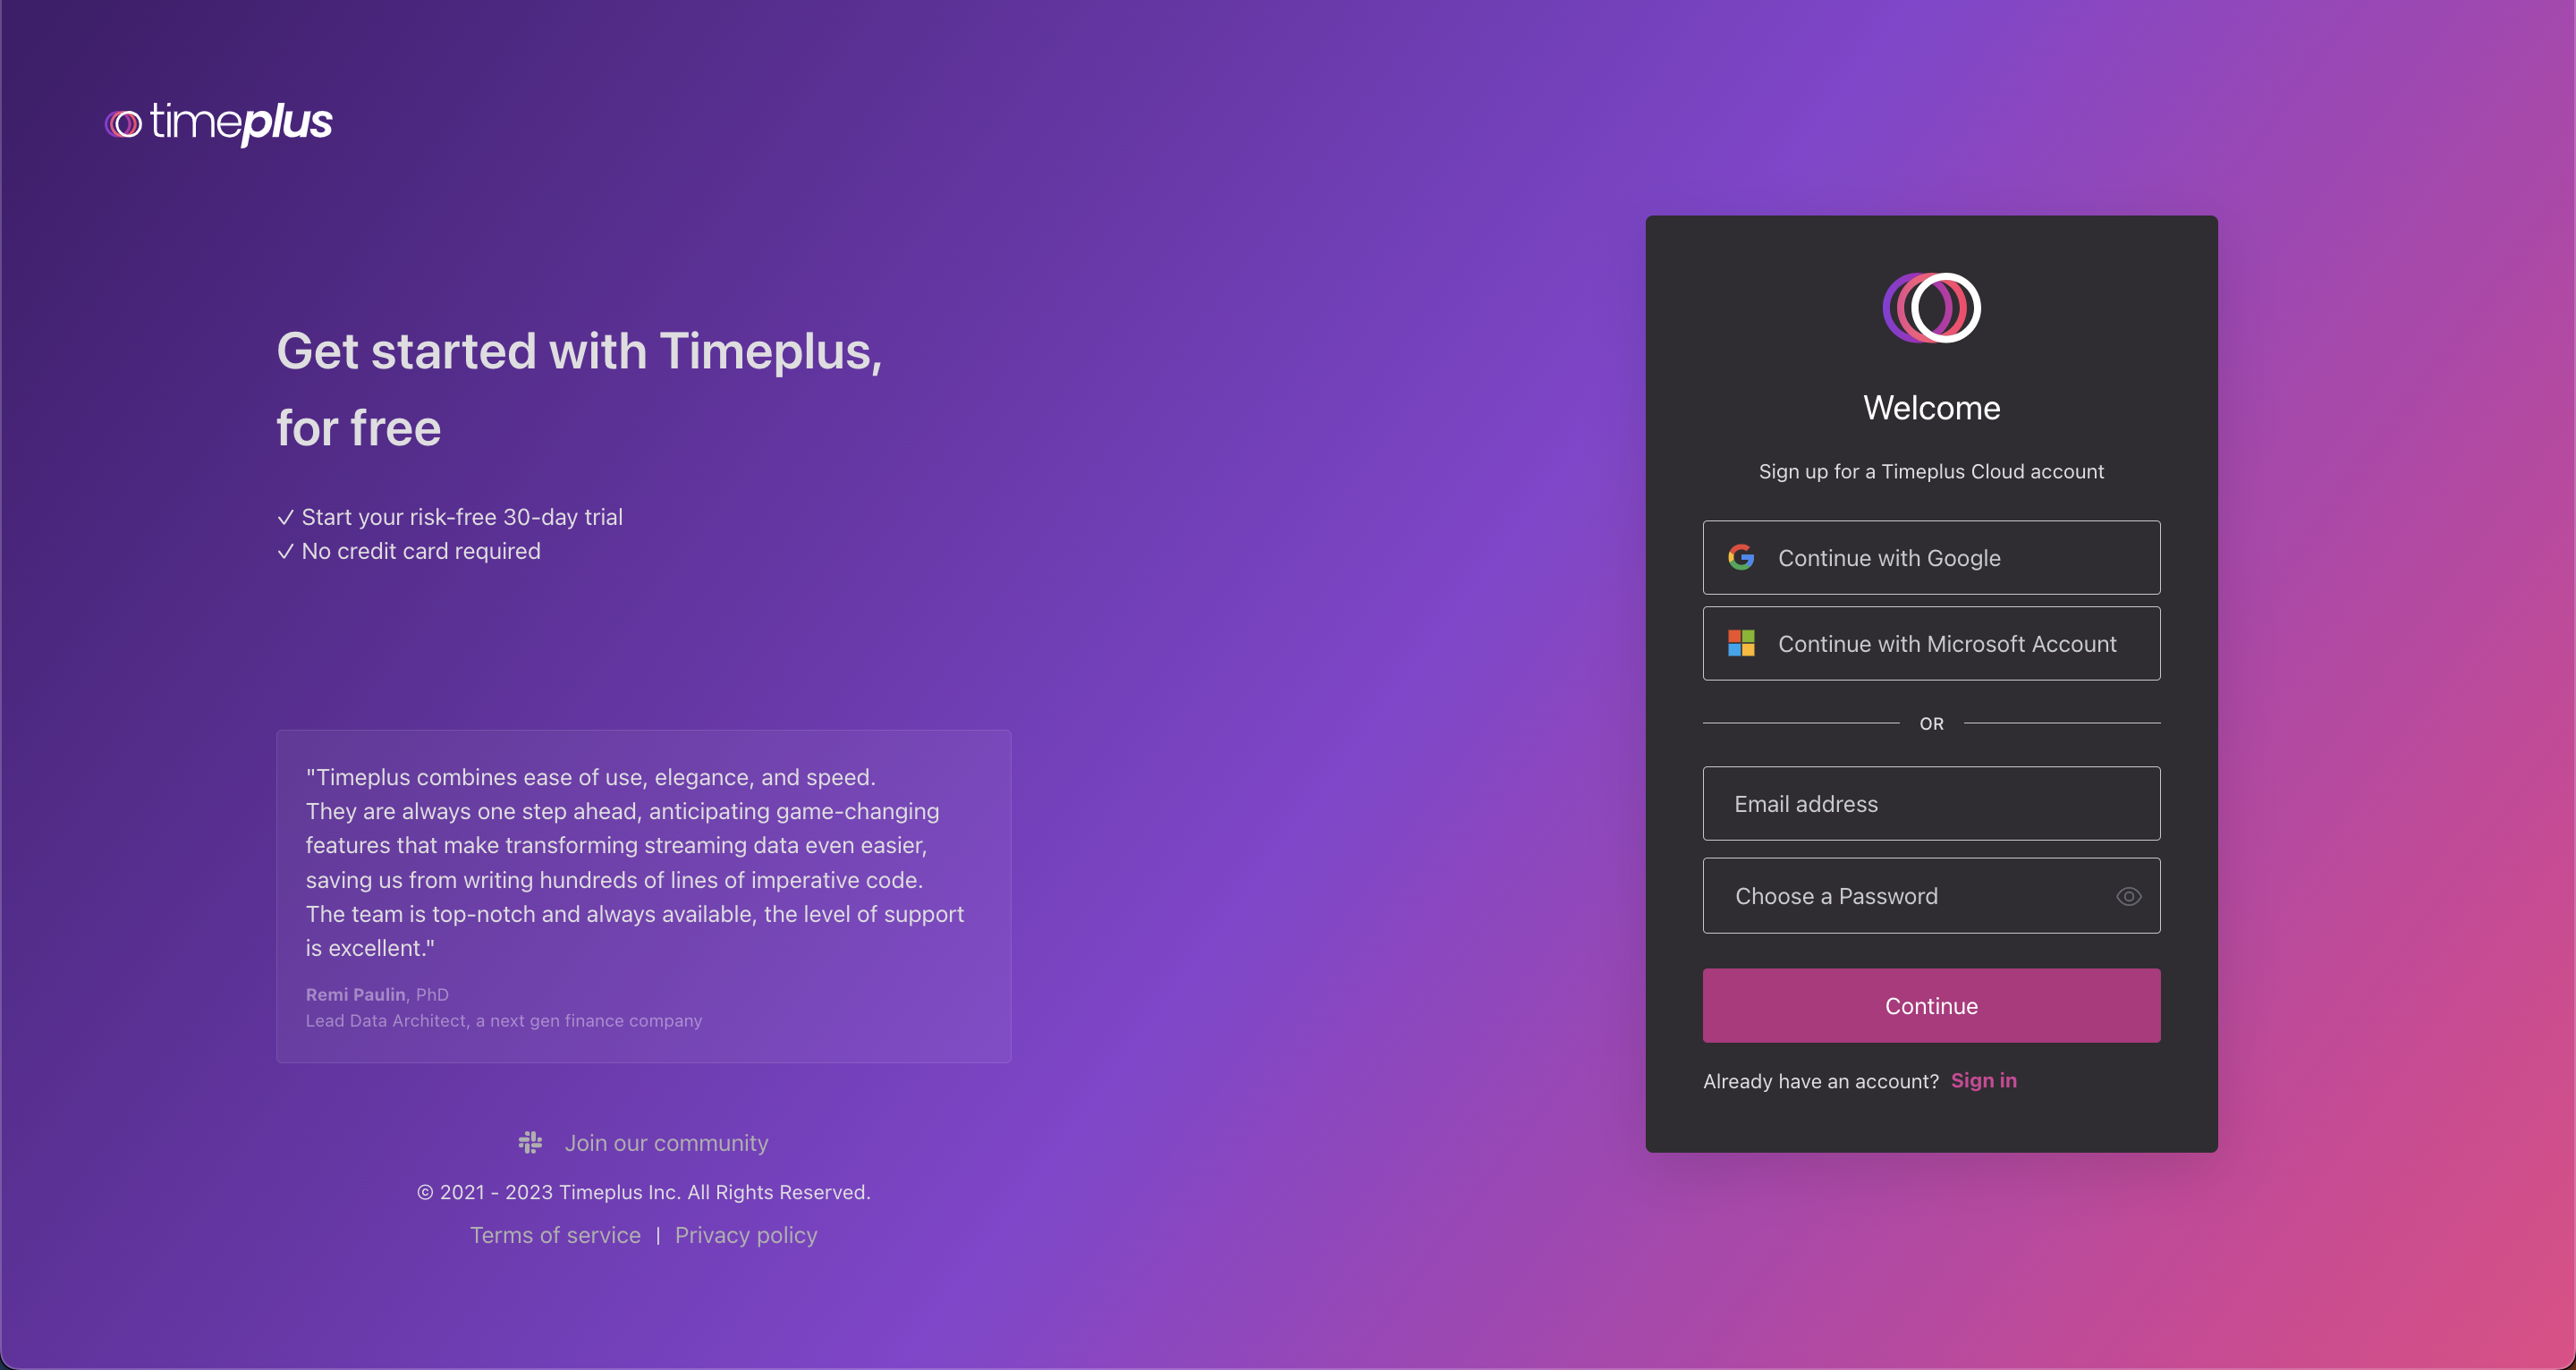
Step 1: Sign up for a Timeplus account
Let's start by creating an account for Timeplus Cloud. Currently, Google or Microsoft Single Sign-On (SSO) are supported. Please choose a work email or Google/Microsoft account to sign up. It usually takes less than 2 minutes to get the account set up and have the first workspace created.
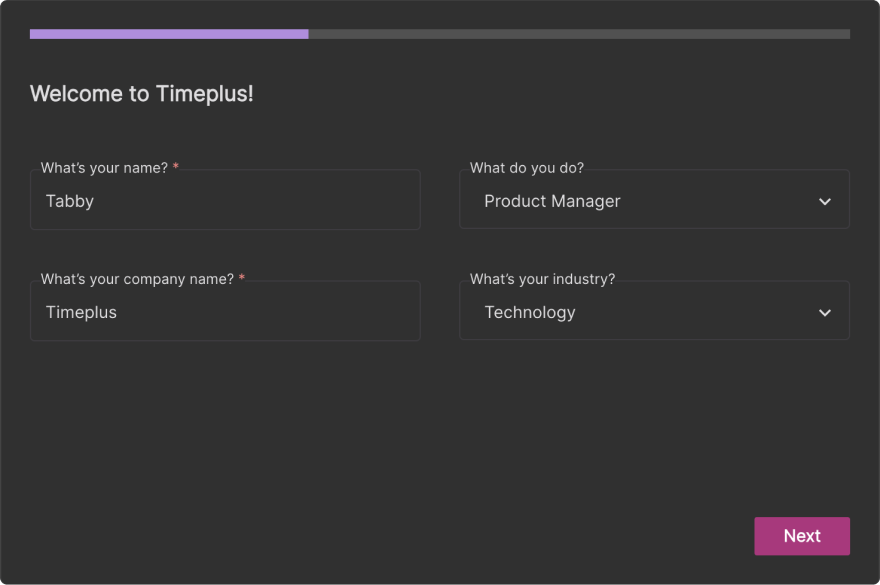
Step 2: Set up your account and workspace
Tell us a bit about yourself by completing a quick account setup:
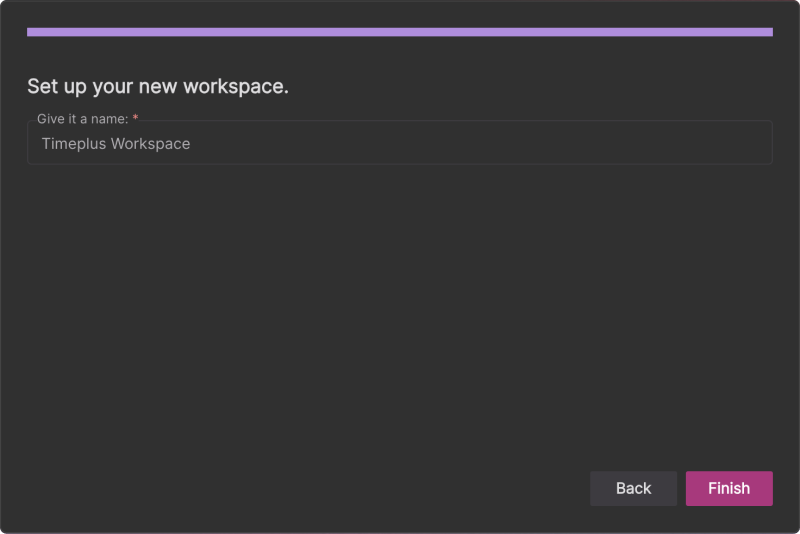
The final step of the setup is for naming your new workspace, the isolated storage and computing unit for you to run streaming data collection and analysis. Give it a name:
Step 3: Load data and run stream processing
Please refer to Step 3 of the previous section.
What's next?
- Ingest additional data streams
- Write streaming queries
- Create additional charts from streaming data with visualizations and dashboards
- Send the results of your queries to a sink