
Server Configuration
When you run Timeplus Enterprise in a self-hosted environment, the default settings are designed to accommodate common use cases with ease and optimal performance. The server can be configured either by modifying the configuration file or via the web console.
User Management
For single node deployments, when you launch the web console of Timeplus Enterprise for the first time, you will be prompted to create a new account with password.
For multi-node clusters deployed via Helm Chart, please set the system account and user accounts in the values.yaml. The system account is created automatically for internal components to communicate to each other. The username is proton, with the password defaulting to timeplusd@t+.
To edit or add new users, you can use the timeplus user CLI or container, which supports bare metal and Kubernetes, both single node and multi-node.
License Management
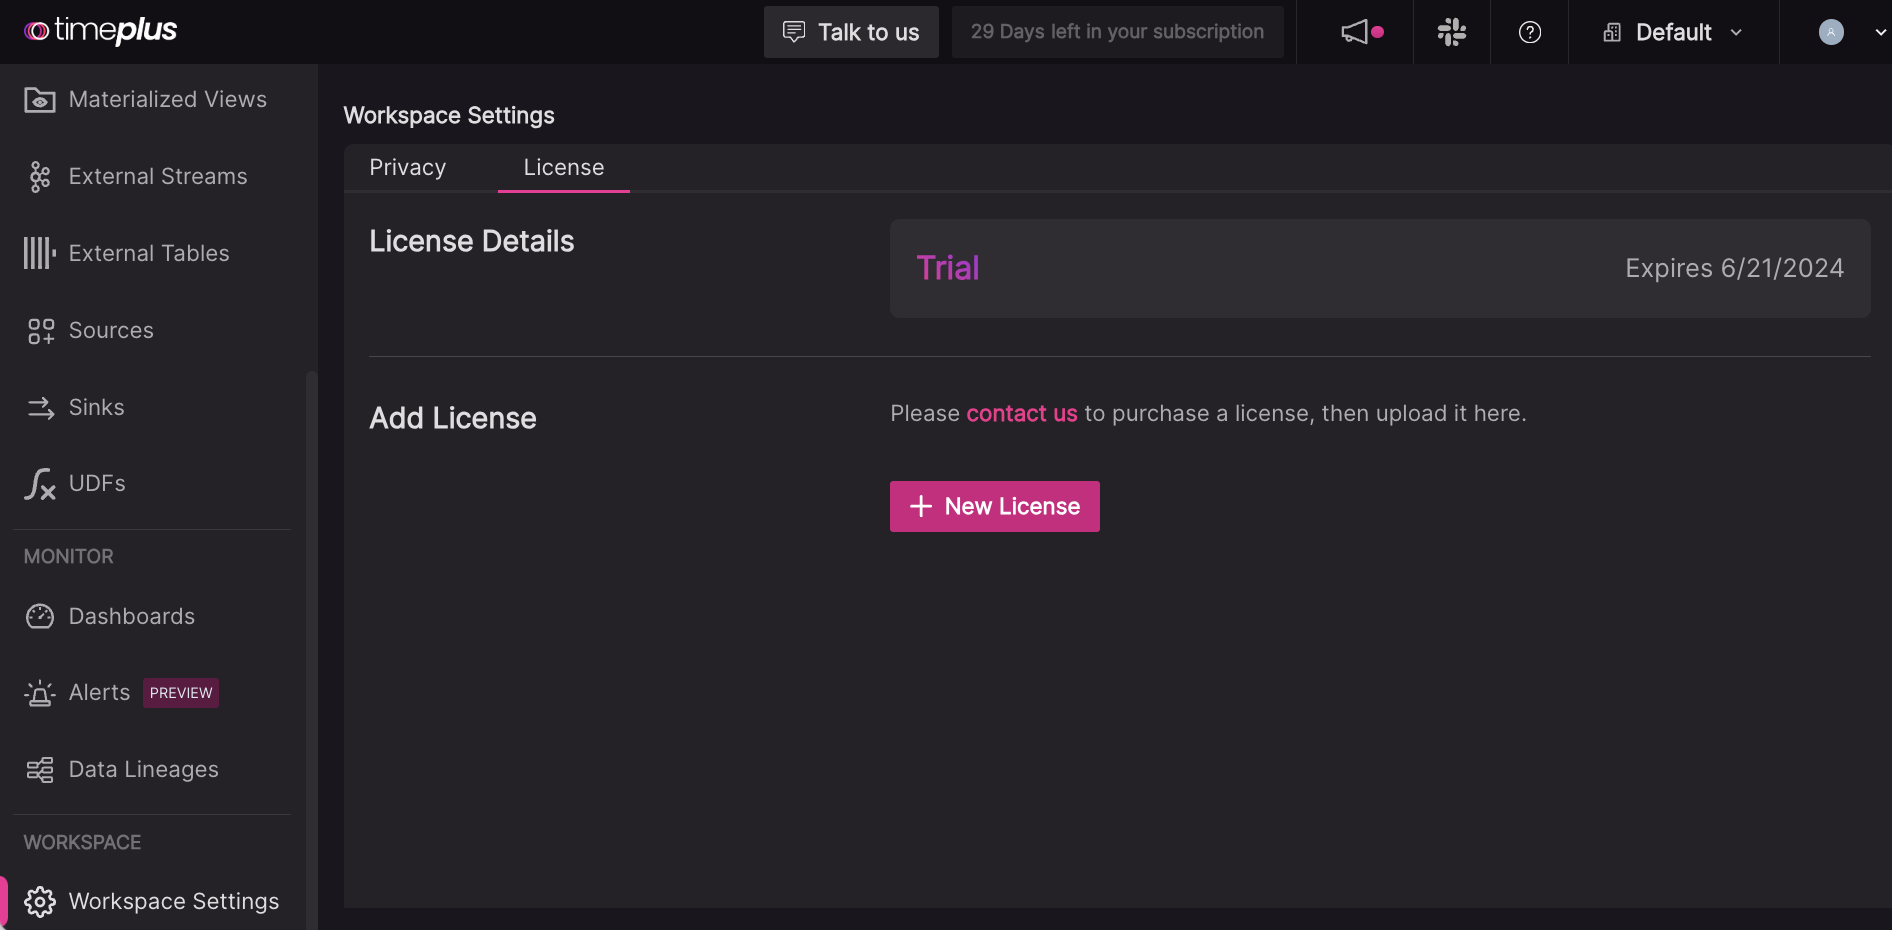
Your 30-day free trial starts when you start Timeplus Enterprise and access the web console for the first time. When your free trial ends, Timeplus Enterprise will stop working.
You can contact us to purchase a license, then upload it in the web console. Click Workspace Settings in the left navigation menu and choose the License tab. Copy and paste the license file or upload the file.
You can also import a license by running the following command when Timeplus Enterprise is running.
./bin/timeplus license import -h license_key -h license_filepath
Enable HTTPS
By default, Timeplus Enterprise web console is running on 8000, on a plain HTTP port. If you need to turn on self-signed or CA-signed HTTPS, you can edit conf/timeplus_appserver.yaml as follows:
server-port: 8443
tls: true
cert: ../cert/ca.crt
key: ../cert/ca.key
To create a self-signed certificate, follow this doc and put the certificate files in the timeplus/cert folder.
Stop and restart Timeplus after the configuration change.
Run as a system service
To run Timeplus Enterprise as a service, you need a OS that supports systemd.
To install it as a systemd service, run sudo ./bin/timeplus service enable -u user -g user_group.
Note:
- Root privilege is required to enable the service
- Use the same user/user_group for uncompressing the Timeplus installation package
- This command will add a service into
/etc/systemd/system/timeplus.service. When it is successfully installed, it will enable and start the service. Later on you can usesystemctlcommand to manage the service.
Timeplus Appserver configurations
# The maximum number of tcp connections to timeplusd in the idle connection pool
timeplusd-max-idle-conns: 10

# The maximum interval (in millisecond) between two flushes to the query SSE channel.
query-buffer-interval: 100

# The maximum number of rows buffered in memory before flushing to the query SSE channel.
query-buffer-max: 100

# If disabled, you will not be required to login appserver. Appserver will always behaviour as the timeplusd user configured in `appserver-user-timeplusd-username`
enable-authentication: true

# Required only if `enable-authentication` is set to be `false`.
appserver-user-timeplusd-username: "default"

# Required only if `enable-authentication` is set to be `false`.
appserver-user-timeplusd-password: ""
Timeplusd configurations
logger:
  # Possible levels [1]:
  # - none (turns off logging)
  # - fatal
  # - critical
  # - error
  # - warning
  # - notice
  # - information
  # - debug
  # - trace
  level: information

# Maximum number of concurrent queries.
max_concurrent_queries: 100
# Maximum number of concurrent insert queries.
max_concurrent_insert_queries: 100
# Maximum number of concurrent select queries.
max_concurrent_select_queries: 100